
Description
Product Introduction
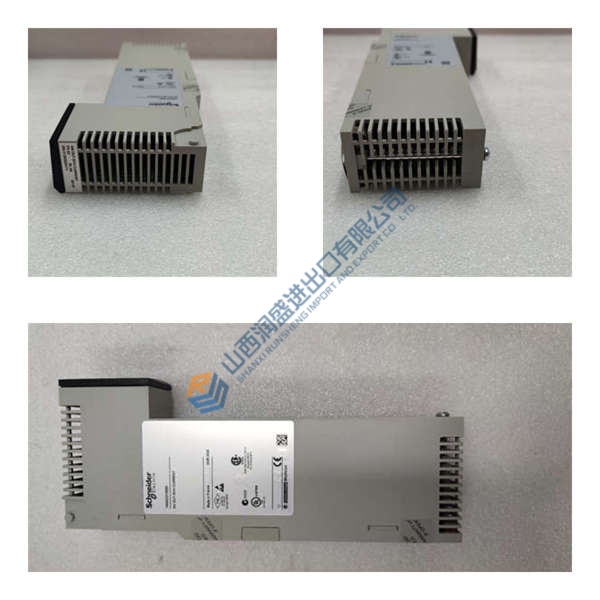
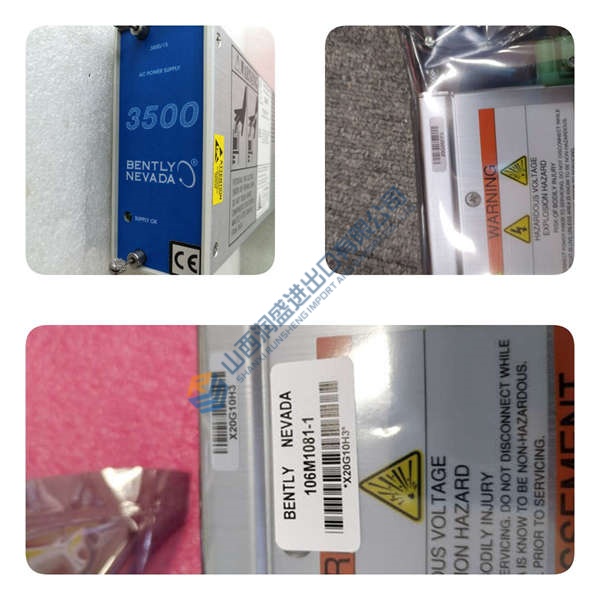
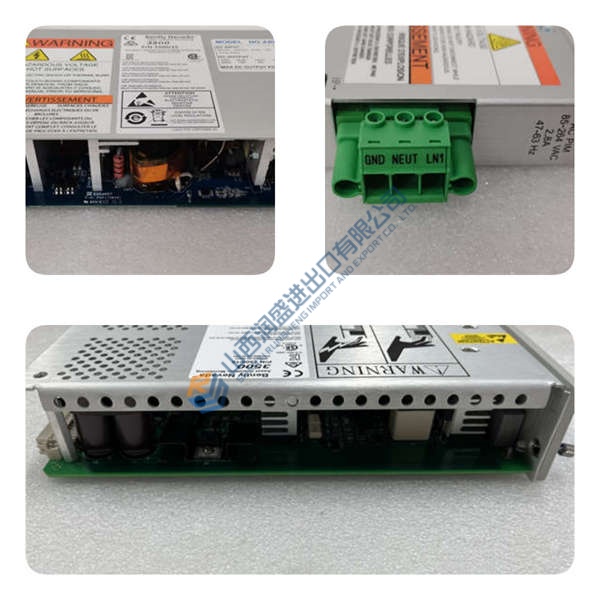
ABB PU410K01 provides long-distance optical bus extension for Advant Controller 400 series and S800 I/O subsystems. Containing matching optical transceivers, this module kit transmits high-speed RIO300 backplane signals across noisy electrical environments without ground potential shifts. Operating on standard 24 V DC rack power, the unit eliminates electromagnetic interference across distributed control cabinets. In field deployments of AC800M systems, robust signal transmission prevents dangerous remote I/O dropouts.
Retrofitting aging copper extension links with modern fiber modules eliminates transient communication drops. Supporting transmission distances up to 500 meters over 62.5/125 µm multimode fiber, the module kit drops directly into existing subracks without requiring control software changes. Is this design choice actually clever? Absolutely, because optical isolation prevents lightning surges from destroying entire controller backplanes. Listed pricing serves as reference only; actual market pricing varies with global stock levels. Contact our commercial team directly to request a formal quote for available stock.
Quality Inspection and Verification SOP
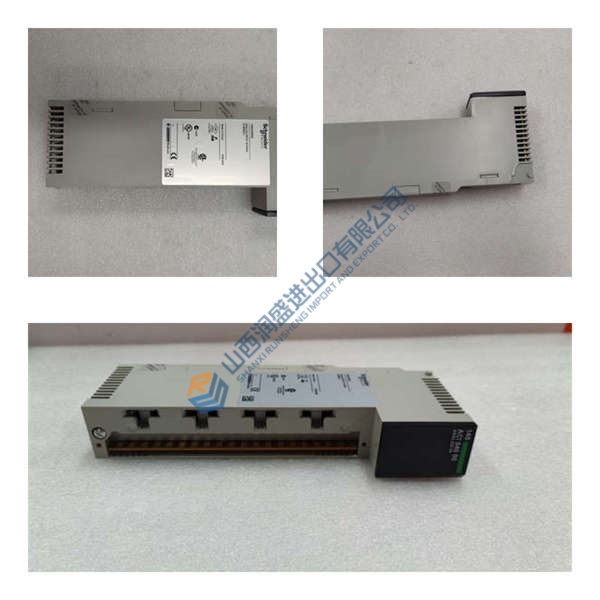
In our testing facility, every incoming extender kit undergoes rigorous multi-point verification before entering storage. We verify source traceability against OEM packing manifests and customs documentation. Technicians perform anti-counterfeit inspections, examining serial numbers, hologram security labels, and housing molding details. Physical checks ensure zero pin corrosion, terminal scratches, or plastic yellowing.
Live functional testing begins with a controlled power-up sequence using a Fluke 115 multimeter to verify 24 V DC supply rails. Observing LED startup cycles, we establish optical communication handshakes over multimode fiber jumpers to an AC400 series test rack. We execute full signal traffic transmission while logging internal temperature rise during a continuous 24-hour load test. Insulation resistance is measured with a 500 V megohmmeter to ensure readings exceed 10 MΩ across isolation barriers. Firmware versions are recorded, and hardware DIP switches are photographed for customer records. After final sign-off, the module set is sealed in an anti-static bag and boxed with high-density foam padding. Test photos and raw video recordings remain available on request. Units are confirmed functional after completing all tests above.
Technical Pitfall Guide for Integration Engineers
Having supported hundreds of bus retrofits, our engineering team highlights five critical mistakes that stall installations.
- Fiber Polarity Inversion: Swapping transmit (TX) and receive (RX) optical fibers prevents link establishment instantly. Label all fiber strands prior to routing. Verify optical light output at the RX connector using an optical power meter before final attachment.
- DIP Switch and Address Misconfiguration: Incorrect bus speed settings on the module rear will freeze the controller backplane upon startup. Replicate switch configurations from original units prior to hardware installation. Photo. Photo. Photo.
- Contaminated Optical Connectors: Dust particles on fiber ferrules attenuate optical signals, causing intermittent bus dropouts. Clean all optical fiber ends and module transceivers using isopropyl alcohol and lint-free swabs prior to insertion. Always fit protective dust caps on unused optical ports.
- Insufficient Power Supply Headroom: Wiring bus extenders to overloaded 24 V DC field power supplies causes voltage dips during heavy I/O scanning cycles. Calculate total cabinet power consumption and maintain at least 20% power headroom. Add an auxiliary power supply if loading exceeds 80%.
- Electrostatic Discharge (ESD) Damage: Handling bare circuit boards without anti-static protection risks destroying sensitive transceiver microchips — though your mileage may vary depending on ambient humidity. I watched an engineer skip the strap in January. The module smoked on power-up. $2,000 gone. Always wear an ESD wrist strap connected to a verified ground point.
Keep these five points in mind and you’ll cut 90% of your rework time.
Installation & Configuration Guide
Phase 1 — Pre-Installation (Estimated Time: 10 minutes)
De-energize main panel power and wait 5 minutes for internal capacitors to discharge fully. Gather a 3 mm slotted screwdriver, an optical power meter, and an alcohol cleaning kit. Export hardware configuration files from your engineering software. Photograph original cable routing, DIP switch settings, and backplane module positioning.
Phase 2 — Removal (Estimated Time: 5 minutes)
Label every electrical cable and optical fiber jumper before unplugging. Carefully disconnect ST fiber connectors by twisting and pulling backward. Loosen module retaining screws on the front panel subrack. Pull the module perpendicular to the backplane to release the connector pins. Inspect backplane connector slots for bent pins or debris.



