
Description
Product Introduction
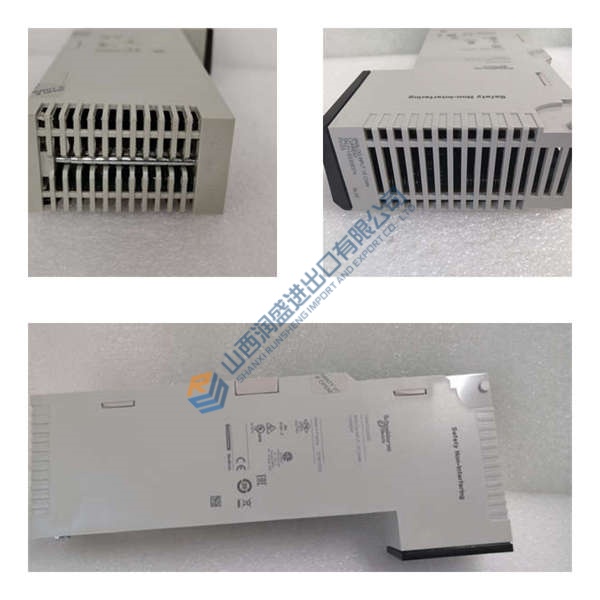
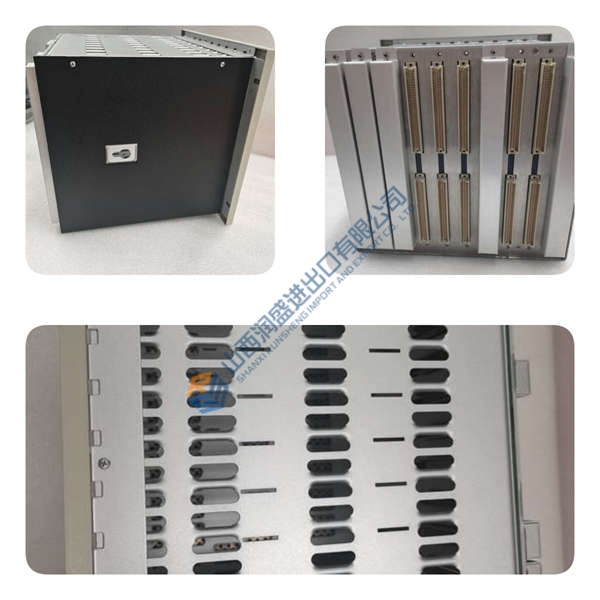
Running a PSR cyclo converter and need reliable thyristor firing? The ABB SCYC51071 (58052477D) is the pulse amplifier board that drives thyristor gates in static excitation and cyclo converter rectifier systems.
This unit delivers isolated 24 V DC trigger pulses with <1 µs rise time, synchronized to the AC line zero-crossing. In field deployments of PSR excitation systems, we’ve seen this card handle 6-pulse and 12-pulse rectifier bridges without the misfire you get on aging pulse transformers. RS485 Modbus RTU means it integrates directly with ABB DCS or PLC for remote firing angle control.
Installation & Configuration Guide
Phase 1—Pre-Installation (est. 10 min)
De-energize the PSR converter rack. Wait 5 minutes for capacitor discharge. Grab a 24 V DC multimeter, ESD wrist strap, and a camera. Export the current firing angle configuration. Photograph all thyristor gate wiring, RS485 cable routing, and DIP switch settings—photo, photo, photo.
Phase 2—Removal (est. 5 min)
Label every gate cable and control wire before disconnecting. Release the DIN rail latch or backplane locking mechanism. Pull the card straight out, perpendicular to the backplane. Inspect the backplane connector pins for bent or corroded contacts.
Phase 3—Installation (est. 10 min)
Strap on your ESD gear. Verify the part number matches SCYC51071 (58052477D). Replicate the DIP switch settings from your photos exactly. Seat the card until the latch clicks. Reconnect thyristor gate wires (observe polarity: G+ to G, K+ to K). Reconnect RS485 cable (A to A, B to B, terminate 120 Ω at each end only). Run a pre-power checklist: supply voltage 24 V DC, ground continuity, no loose strands.
Phase 4—Power-On & Testing (est. 15 min)
Apply 24 V DC ±10%. Watch the LEDs: Power = green steady, Run = green flash, Fault = off (red = fault). Connect Modbus master (PLC or DCS). Read the firing angle register (should match configuration). Run a functional test: command 0° firing (full conduction), verify DC output voltage; command 90° (half conduction), verify voltage drops; command 180° (blocked), verify zero output. Confirm stable operation for at least 30 minutes. Log the swap in your maintenance record.
Troubleshooting quick-reference:
- No power LED → check 24 V DC supply and polarity
- Fault LED red → check thyristor gate wiring, verify isolation resistance (>10 MΩ)
- Firing angle error → verify AC synchronization input, check zero-cross detection circuit



