
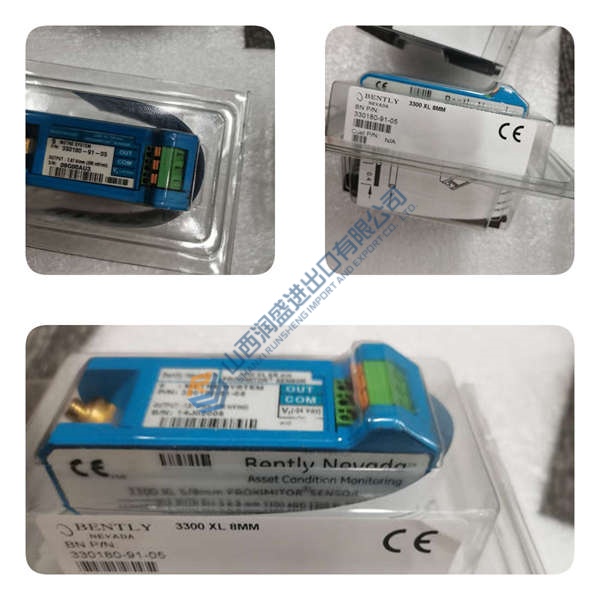
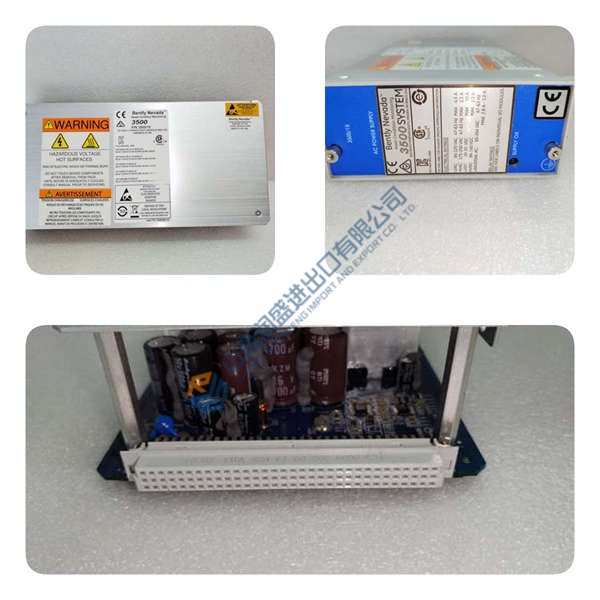
Description
Installation & Configuration Guide
Phase 1 — Pre-Installation (est. 10 min)
Isolate all electrical paths feeding the host machine. De-energize the enclosure cabinet completely and wait at least 5 min for internal power supply capacitors to discharge safely. Gather a Fluke 115 multimeter, a insulated 2.5 mm flathead screwdriver, and an approved ESD grounding strap. Export your current controller parameter software file. Photograph the existing hardware arrangement. Photo. Photo. Photo. Capture the DIP switch configurations, grounding wire runs, and exact backplane spacing before unseating anything.
Phase 2 — Removal (est. 5 min)
Apply physical wire markers to every terminal lead to guarantee correct reconnection later. Loosen the terminal clamping screws carefully to avoid wire strain. Release the main DIN rail locking latch on the bottom edge of the housing. Pull the module perpendicular to the backplane, applying smooth, even pressure to protect the delicate internal connector contact surfaces. Inspect the backplane receiver channel pins immediately for signs of thermal stress, bending, or copper corrosion.
Phase 3 — Installation (est. 10 min)
Secure your anti-static wrist strap to a verified chassis ground point before unpacking the new hardware. Verify the part label on the packaging matches the target Berghof RDC2 specification precisely. Replicate the DIP switch positions on the side of the housing, matching your pre-removal reference photos exactly. Align the unit squarely over the DIN rail channel guide. Seat the unit firmly against the mounting track until you hear the mechanical latch click into place. Reattach all terminal blocks, tightening the connection points to roughly 0.5 N·m of torque. Run through your pre-power structural checklist to verify that no loose wire strands cross the chassis bounds.
Phase 4 — Power-On & Testing (est. 15 min)
Measure the primary supply voltage at the terminal boundary using your Fluke 115 multimeter to confirm it sits within 24 V DC ±10%. Flip the main breaker to energize the panel. Observe the diagnostic LEDs immediately on the front display cluster. The green RUN lamp should illuminate steadily, while any blinking amber DIAG indicators should cease after initializing. Boot your process visualization software, establish a data handshake over the 500K line, and push the active system parameter configuration data down to the unit. Force a test control loop sequence across a single zone to verify stable thermocouple feedback response. Confirm functional operations continue uninterrupted for at least 30 min before logging this controller exchange in your team’s maintenance database.
Milltronics AiRanger DPL AiRangerDPL Monitoring System
Yaskawa JZRCR JZRCR-NBU01B-1TE JZRCRNBU01B1TE NEW
NELSA NEZ-4000/SM2 CONTROL allen bradley matguard 440F
Allen Bradley matguard 440F-c28011 saftey mat control
Lenze AC Tech ESV371N04TXB 1/2 HP AC Drive 400/480V
MICRO MOTION Mass Flow Meter 3700A1A05DUEZBZ 3700 as-is
NEW Abb 3ADT220090R0012 amc-dc-coat 3adt3099001 amc-dc
SAFTRONICS CIMR AC DRIVE CIMR-H2.2G2-E10 4.1kva 4.1 kva
NEW GE PC Board Card IC3600LIBB1 IC3600LIBB1C1B
GE PC Board Card IC3600LIBB1A IC3600LIBB1 IC3600
Sanyodenki Sanyo Denki Kawasaki Power Unit BP100XX26
Reliance Circuit Board Card 0-51831-2 0518312 518312
Kawasaki Board Card 9ZT-30 9ZT30 50999-1013 50999 NEW
Star Precision Ball Screw 1502-5-4086 25″ 2″ dia NEW
SAFTRONICS G3 FREQUENCY AC DRIVE 5HP 5 HP CIMR-G3U43P7
SIEMENS MOORE PRODUCT VALVE 73N-FR B/M 10637-/14MC
AB Allen Bradley 2755-DD1A 2755DD1A Bar Code Decoder



