Description
Product Introduction
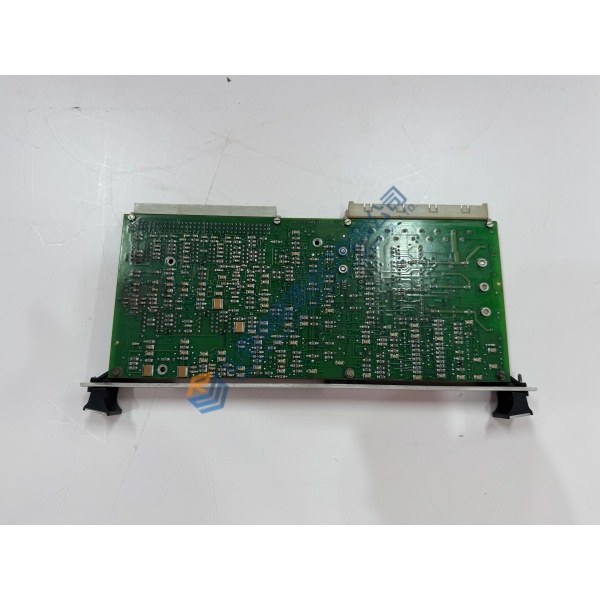
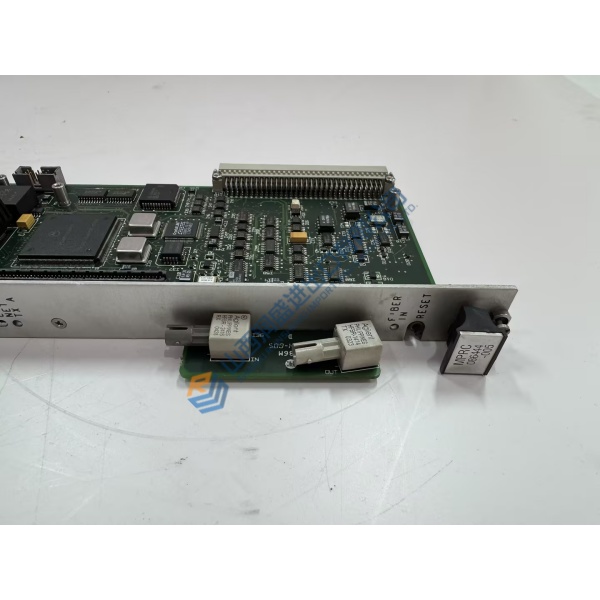
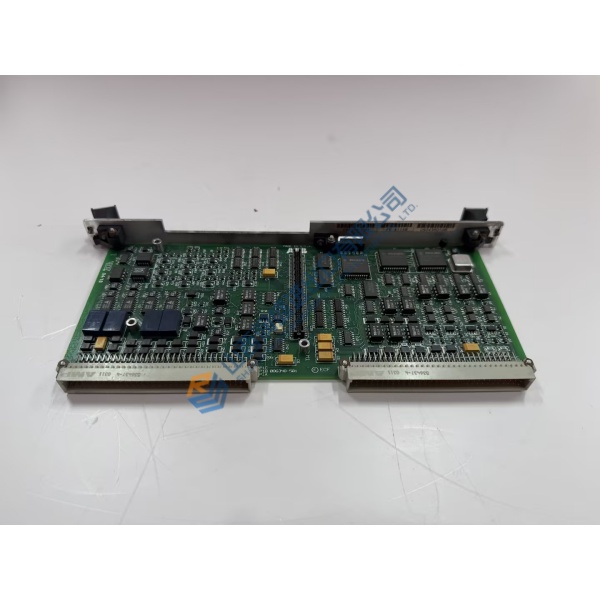
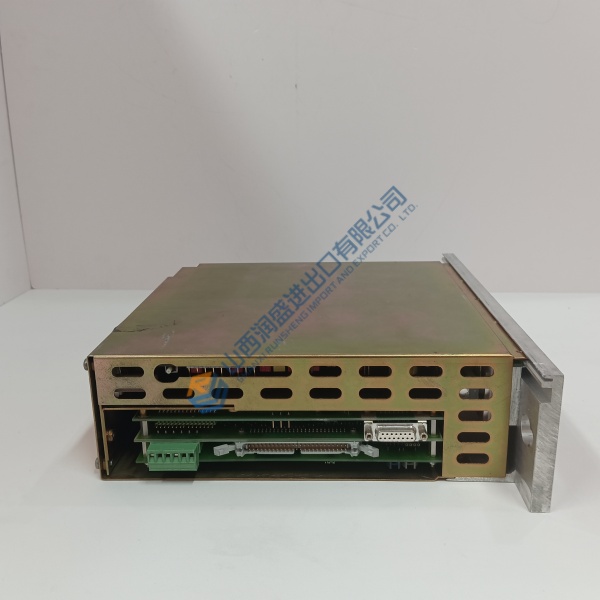
GE DS200SNPAH1ABA is the SNP Protocol Interface daughterboard used with the DS200DSPC Digital Signal Processor Control motherboard. It provides isolated serial communication between the DSPC and a GE Series 90-30 PLC using the native Series Ninety Protocol.
The board mounts directly on the DSPC in the VMEbus rack alongside the ADMA module. It supports both RS-232C for short-distance links and isolated RS-485 for longer runs or multi-drop networks. This interface is required in PLC-based Load Commutated Inverter (LCI) systems but is not used with Innovation Series Controllers.
Installation & Configuration Guide
Phase 1 — Pre-Installation (est. 10 min)
De-energize the control cabinet and wait 5 min for residual discharge. Tools: ESD wrist strap, multimeter (Fluke 115), torque screwdriver. Photograph the existing board orientation, connector positions and any jumpers or DIP settings on the DSPC.
Phase 2 — Removal (est. 5 min)
Label every cable. Release the daughterboard fasteners. Lift the SNPA board straight off the DSPC motherboard; inspect the mating connectors for bent pins or contamination.
Phase 3 — Installation (est. 10 min)
Apply ESD protection first. Verify the part number DS200SNPAH1ABA on the nameplate. Align the board with the DSPC connectors and seat firmly. Set the protocol selection jumper or switch (1 = SNP enabled). Reconnect any external RS-232/RS-485 cabling and complete the pre-power checklist.
Phase 4 — Power-On & Testing (est. 15 min)
Apply system power and observe status indicators. Verify communication with the Series 90-30 PLC using SNP diagnostic tools. Confirm data exchange and control commands function correctly. Run a functional test for >30 min and log the board replacement.
Troubleshooting quick-reference:
- No communications → check protocol selection setting, cable polarity and isolation
- Board disabled → confirm selection switch is set to “1”
- Download / link fails → verify Series 90-30 PLC SNP configuration and baud rate