Description
Product Introduction
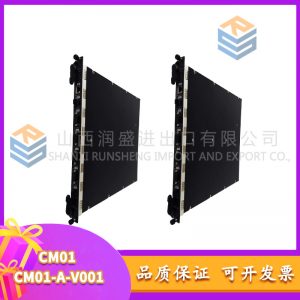
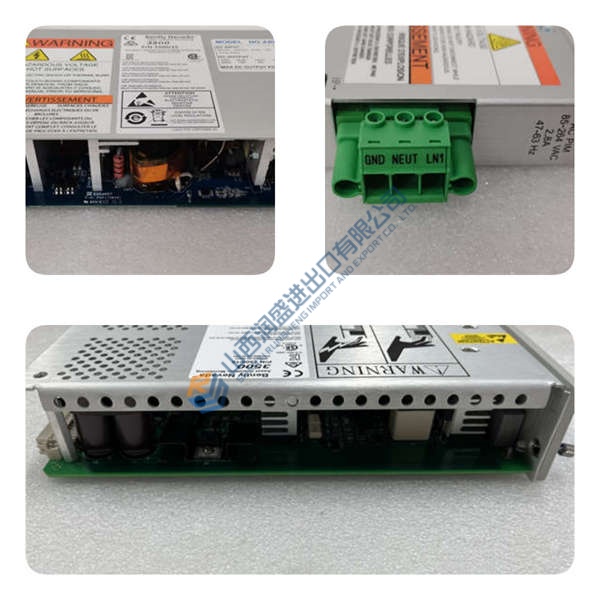
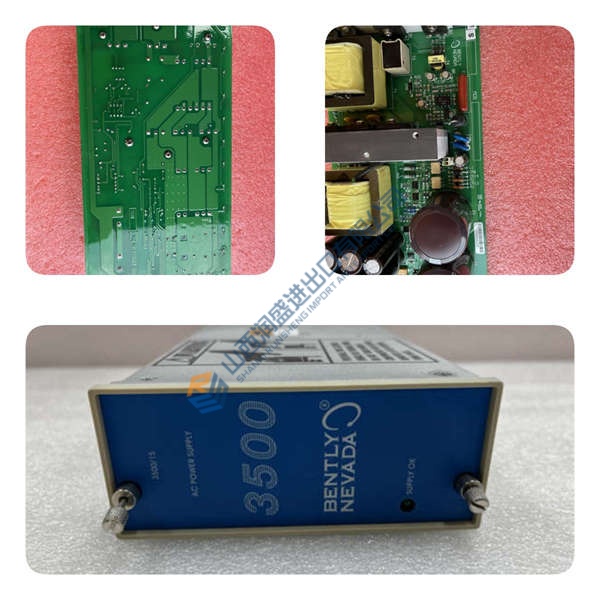
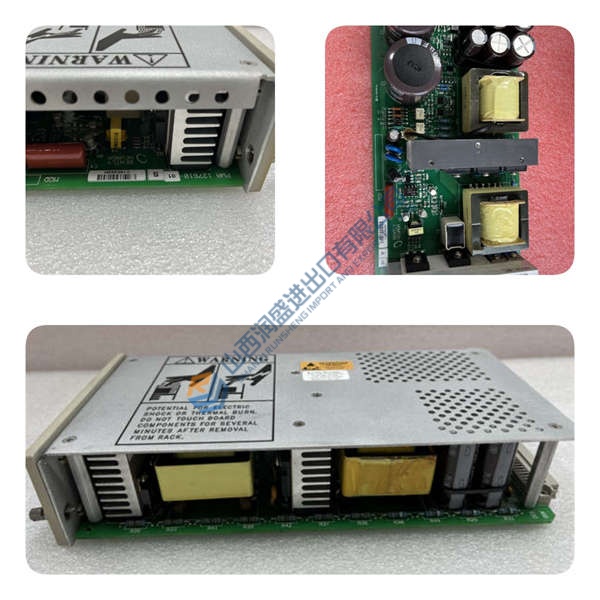
The Honeywell FC-SCNT01 (51454926-176) is the central safety controller CPU for the SC S300 Safety Instrumented System (SIS), certified to SIL3 per IEC 61508/IEC 61511 by TÜV Rheinland. It executes deterministic safety interlock logic for Emergency Shutdown (ESD), Fire & Gas (FGS), Burner Management (BMS), and High Integrity Protection Systems (HIPS) in refineries, chemical plants, thermal power stations, and offshore platforms.
This module stands out for its Quad Modular Redundant (QMR, 2oo4D fault tolerance) architecture—four independent processing channels run in lockstep, voting out any single fault without interrupting the safety function. In field deployments of Honeywell SIS systems, we’ve seen scan times consistently under 10 ms with proper 24 V DC supply and shielded Ethernet cabling. The conformal-coated PCB and 1500 V dielectric isolation on all communication ports make it a solid choice for Class I Div 2 / ATEX Zone 2 environments where dust, oil mist, and voltage spikes are everyday realities.
Installation & Configuration Guide
Phase 1—Pre-Installation (est. 10 min)
De-energize the 24 V DC supply and wait 5 min for capacitor discharge. Grab a Torx T20, wire strippers, and a Fluke 115 multimeter. Export your current Safety Manager configuration (Control Builder SM or Safety Manager Builder) and photograph the existing module’s terminal wiring, DIP switches, and rack position.
Phase 2—Removal (est. 5 min)
Label every cable before disconnecting—Ethernet A/B, 24 V DC +/−, DI1–DI8, DO1–DO8. Release the DIN-rail latch, pull the module straight out perpendicular to the backplane, and inspect the backplane connector pins for bent contacts or corrosion.
Phase 3—Installation (est. 10 min)
Strap on your ESD wristband. Verify the part number matches FC-SCNT01 51454926-176. Replicate the DIP switch settings from your photos—QMR mode, Ethernet IP address, PROFIBUS address. Seat the unit until the latch clicks, reconnect the terminal block cables, torque terminal screws to ~0.5 N·m, then run a pre-power checklist: backplane continuity, 24 V DC supply polarity, ground bond.
Phase 4—Power-On & Testing (est. 15 min)
Verify supply voltage is 24 V DC (±10%). Power up and watch the LEDs: green = RUN, red flash = ERR, amber flash = DIAG. Hook up Experion PKS or Safety Manager Builder, download the safety logic, then run a full I/O loop test. Log at least 30 min of stable operation before signing off.
Troubleshooting quick-reference:
- No comms → check IP, cable, switch port, firewall rules (Modbus TCP port 502)
- ERR steady → firmware mismatch; attempt update via Safety Manager Builder
- Download fails → verify cable and software version
- Over-temperature → check 100 mm clearance above/below, 30 mm sides