Description
Product Introduction
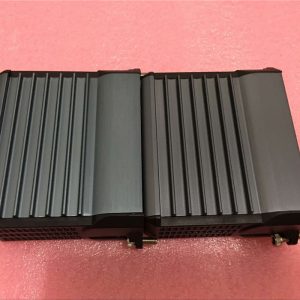
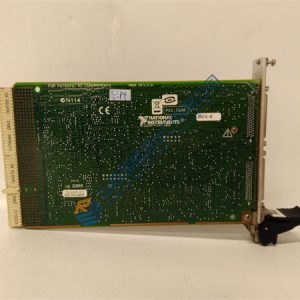
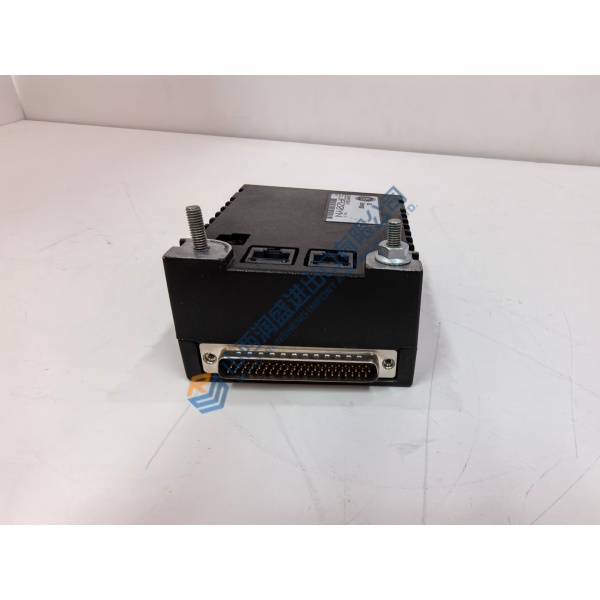
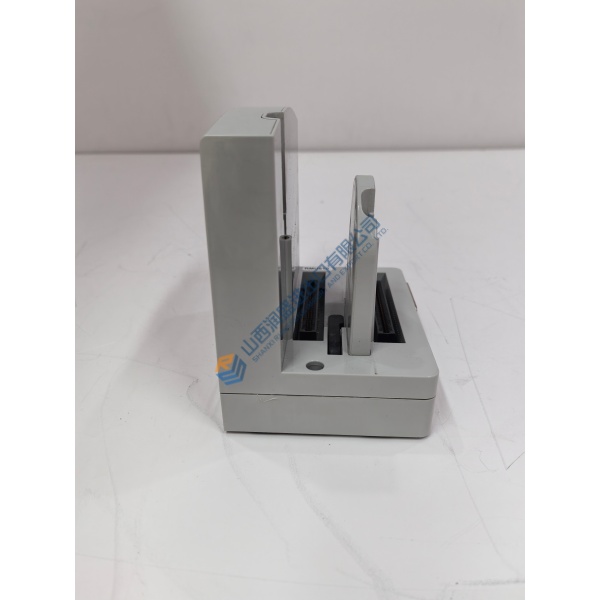
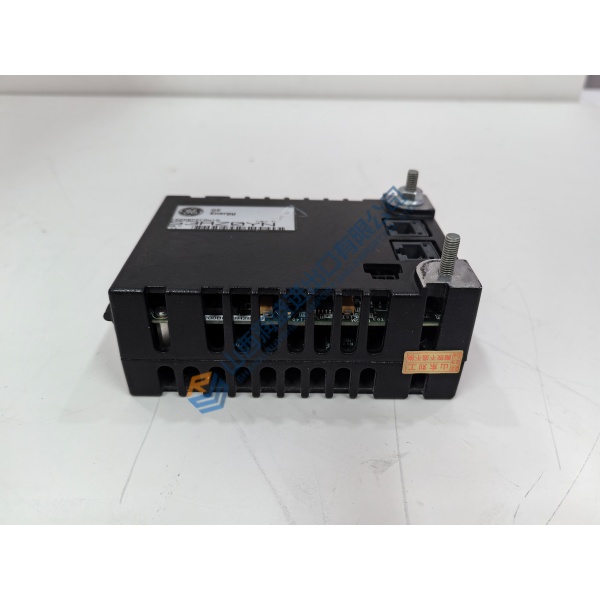
A failing laser head halts automated wafer inspection or bio-analytical sorting lines without warning. The JDSU 2214-30SLQT provides low-noise, highly stable 488 nm laser emission across critical precision optical frameworks. Compliant with IEC 60825-1 safety standards, this light source mounts directly into standard optical chassis without requiring custom bracket alignment.
In field deployments of JDSU 2200 series optics, this module maintains low optical noise below 0.5% RMS across continuous operating cycles. The JDSU 2214-30SLQT links directly to OEM power supply controllers to keep production scanning systems running smoothly. Listed prices serve as a baseline reference; actual pricing depends on current global surplus availability and tube operating hours. Contact our sales team directly to request an exact quote and confirm current lead times.
Installation & Configuration Guide
Phase 1 — Pre-Installation (est. 10 min)
De-energize main system power feeds. Wait 10 minutes for internal high-voltage capacitors to discharge down to safe levels. Assemble a metric hex driver set, optical cleaning kit, ESD grounding wrist strap, and digital multimeter. Export current optical power logs from your diagnostic software. Take clear photos of all interlock wiring, remote key switch connections, and power supply cable routing on the active JDSU 2214-30SLQT unit.
Phase 2 — Removal (est. 5 min)
Label every interface connector and high-voltage feed cable before loosening locking collars. Unplug the main umbilical cable by pulling straight back on the connector shell. Remove the optical beam shroud and four base mounting bolts securing the laser head to the optical bench. Carefully lift the module straight up to avoid striking adjacent beam-steering optics. Inspect the mounting surface for dust or oil contamination.
Phase 3 — Installation (est. 10 min)
Put on your static wrist strap and connect its grounding clip to the chassis frame. Remove the replacement JDSU 2214-30SLQT from its anti-static shielding packaging. Check the side label and serial tag against your work order. Align the base housing with the optical bench dowel pins, lowering it gently into position. Torque mounting bolts to ~1.2 N·m. Reconnect the umbilical power cable and safety interlock loop according to your terminal tags. Run a physical alignment check.
Phase 4 — Power-On & Testing (est. 15 min)
Measure incoming power across terminals — verify 100–120 V AC line voltage before turning on the power supply breaker. Turn on power. Observe the LED startup sequence: PWR LED lights up steady, the cooling fan starts immediately, and the LASER ON indicator illuminates after the cathode warmup delay (~30 seconds). Connect an optical power meter to the aperture. Measure 488 nm beam power output, verifying >30 mW. Monitor thermal stability and beam noise for 30 minutes before returning the equipment to service. Log the tube swap details in your maintenance record.