
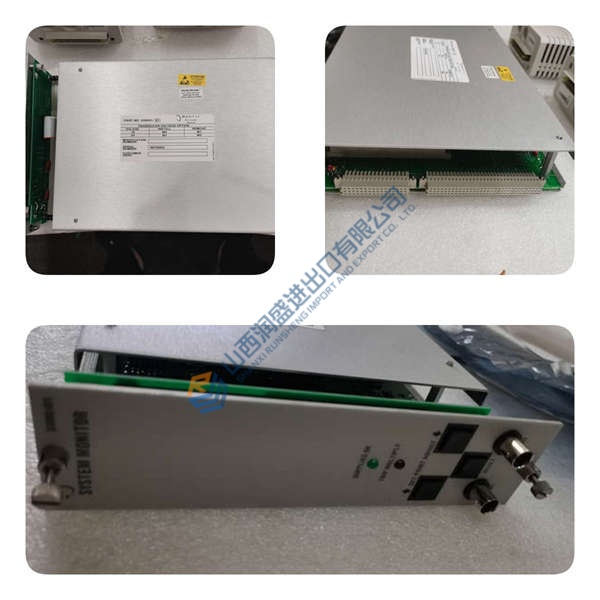
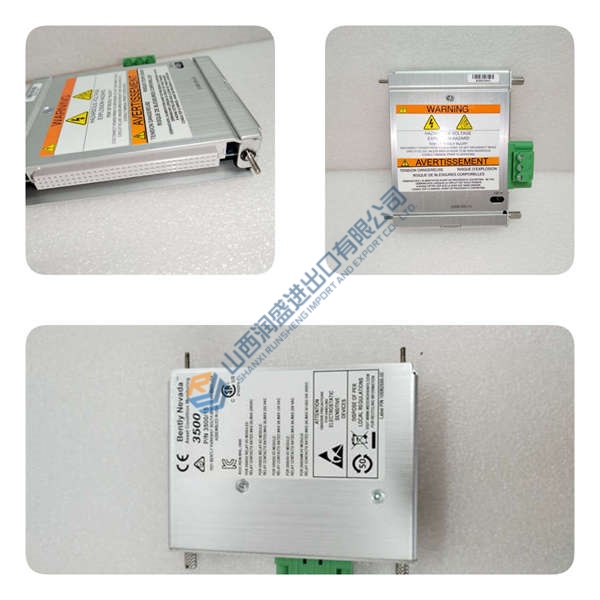
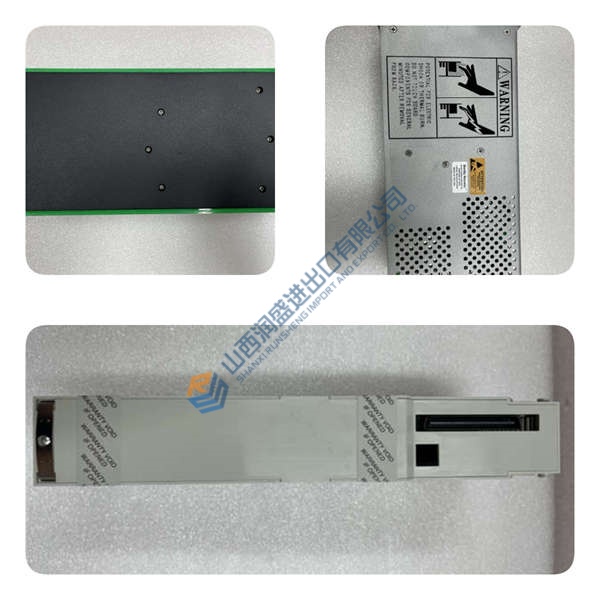
Description
Product Introduction
The Keysight E36234A dual-output bench power supply delivers up to 400 W across two isolated channels for design validation and production testing. Operating in standard 2U bench or rack enclosures, this instrument drives heavy current loads without requiring multiple fixed-voltage supplies. Bottom line — it works.
Autoranging technology dynamically balances current against voltage output, delivering maximum current across a wider voltage envelope. Featuring low ripple below 350 µV RMS, the supply maintains clean power delivery during fast transient steps. Honestly, combining dual-channel tracking with low output noise is actually clever for driving sensitive mixed-signal IC testing.
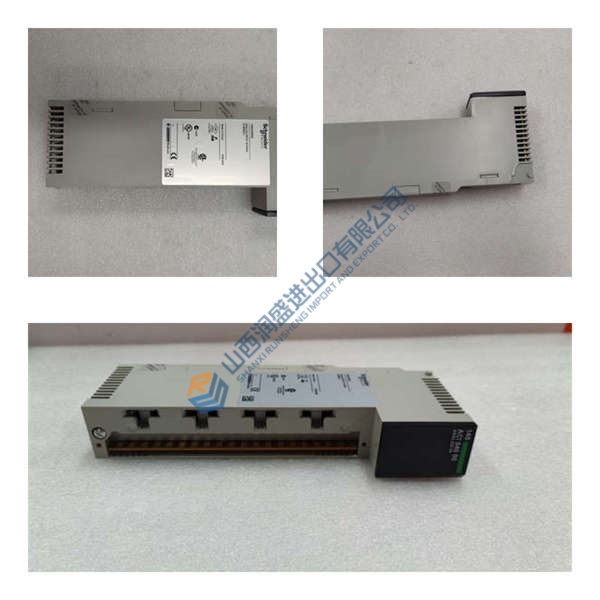
Pricing & Availability Note: Listed pricing serves as a baseline reference only; actual unit cost depends on warehouse stock and delivery timeframe. Request an official quote to verify stock for the Keysight E36234A.
Installation & Configuration Guide
Phase 1 — Pre-Installation (est. 10 min)
- Turn off main utility breaker supplying the test bench.
- Allow 5 minutes for internal filter capacitors to discharge.
- Bring a 4 mm Allen wrench, terminal screwdriver, ESD wrist strap, and Fluke 115 multimeter.
- Export SCPI command scripts and record previous front-panel preset configurations.
Phase 2 — Removal (est. 5 min)
- Disconnect rear LAN, USB, and sense cabling harnesses.
- Unbolt heavy primary DC load wires from terminal binding posts.
- Remove front rack-mount bracket screws from instrument ears.
- Slide the unit straight forward out of the 19-inch rack frame.
Phase 3 — Installation (est. 10 min)
- Wear an anti-static wrist strap connected to cabinet ground.
- Confirm the rear serial tag reads Keysight E36234A before mounting.
- Align side rack slides with enclosure rails and push until latches click.
- Fasten front panel rack screws to 1.2 N·m torque.
- Attach 4-wire remote sense leads directly to load terminals to prevent line drop errors.
Phase 4 — Power-On & Testing (est. 15 min)
- Connect line power (100 to 240 V AC nominal).
- Push the power button and monitor bootup self-test sequences.
- Establish a LAN handshake via BenchVue or keysight IO Libraries suite.
- Program a 10 V output and verify voltage reading using a Fluke 115 multimeter.
- Run a 200 W continuous load test for 30 minutes to confirm thermal stability.
Troubleshooting Quick-Reference
- No LAN communication → Verify IP address assignment; check DHCP status or static subnet settings.
- Voltage drop at load → Check remote sense lead polarity; ensure sense jump links seat firmly.
- Output disables unexpectedly → Verify over-voltage protection (OVP) or over-current protection (OCP) threshold limits.



