Description
Product Introduction
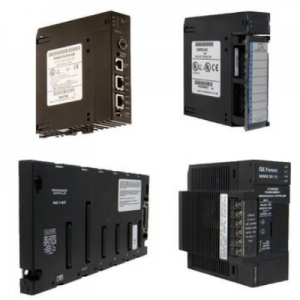
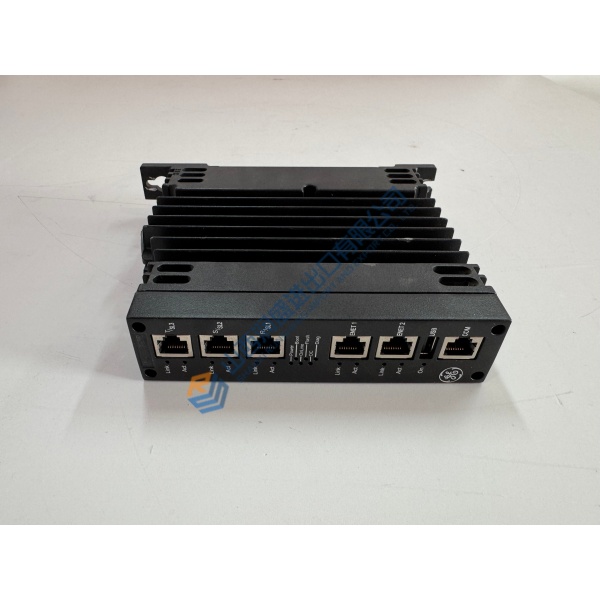
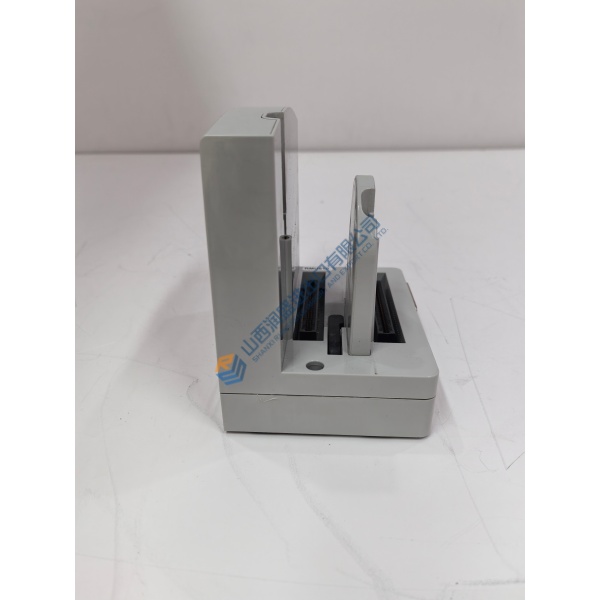
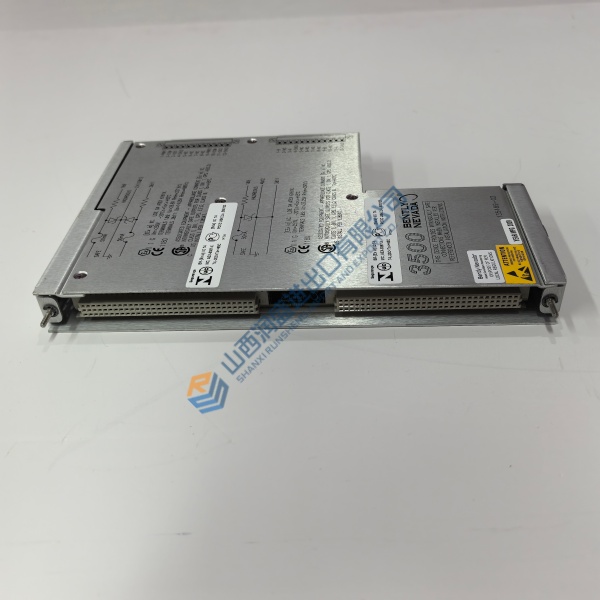
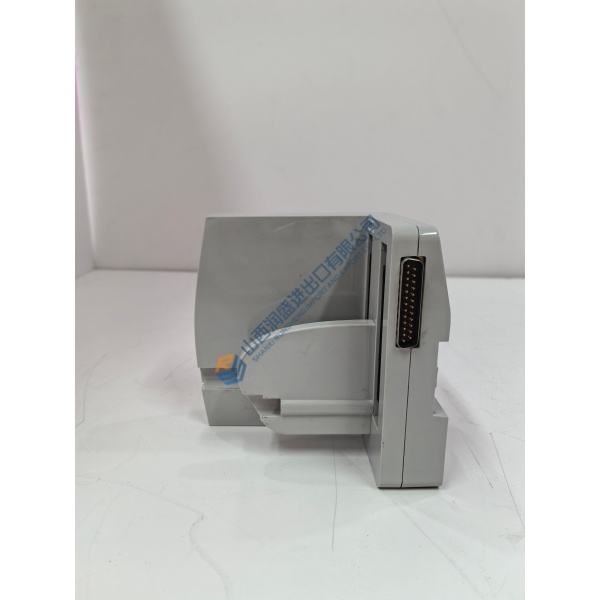
The KONGSBERG TRX32 (Part No. 303088) is a 32-channel acoustic transceiver board inside the HiPAP topside cabinet. Each channel wires to an individual transducer element on the sphere.
Losing one channel costs you less than 1/128 of interrogation power — the system keeps working . That redundancy is why this board stays in service on DP drilling rigs and ROV support vessels. Firmware versions vary across HiPAP generations, so verify before you order.
Installation & Configuration Guide
Phase 1 — Pre-Installation (est. 10 min)
De-energize the transceiver rack at the PSU Main power supply and fuse. Wait 5 minutes for capacitor discharge. Verify with a Fluke 115 multimeter across the DC bus. Export APOS calibration data to USB. Photograph DIP switches and jumper positions on the existing board.
Phase 2 — Removal (est. 5 min)
Label all network and sync cables going to the board. Note which slot the board occupies. Release the two board ejectors and pull the TRX32 straight out along the guide rails. Inspect backplane connector pins for burn marks — a known issue on older racks .
Phase 3 — Installation (est. 10 min)
ESD wrist strap on, connected to rack ground. Verify the replacement part number matches 303088. Replicate jumper and DIP settings exactly from your photos. Slide the board into the guide rails and press firmly until the backplane connector seats. Tighten the two front-panel screws. Reconnect cables in labeled order.
Phase 4 — Power-On & Testing (est. 15 min)
Restore power. Check that voltage LEDs on the TRX32 illuminate . Observe front-panel status LEDs: green = Ethernet activity, amber = I/O activity . Open APOS and verify the system detects all 32 channels. Run a function test: interrogate a known transponder, confirm range reading. Log the swap in the maintenance record with date, part number, and technician initials.
Troubleshooting Quick-Reference:
- No Ethernet comms → check P9 connector, fiber link, switch port
- APOS “ERROR Low Power 6V” warning → capture System Report, send to KM support
- Partial channel loss → inspect transducer cable and backplane connector for corrosion