Description
Product Introduction
Running a MAN two-stroke and need to avoid open-up inspections? The Kongsberg PS-11 is the eddy current bearing wear sensor used in BWCM systems to monitor crosshead guide shoe clearance in real time.
This unit delivers 0.01 mm resolution with ±0.05 mm accuracy, sampling at 150 kHz each time the crosshead passes bottom dead center. In field deployments on 14–16 cylinder engines, we’ve seen this sensor catch early bearing wear before slowdown alarms trigger—giving you weeks of lead time to plan a drydock. CANopen bus means it integrates directly with K-Chief 500 or AutoChief C20 without protocol converters.
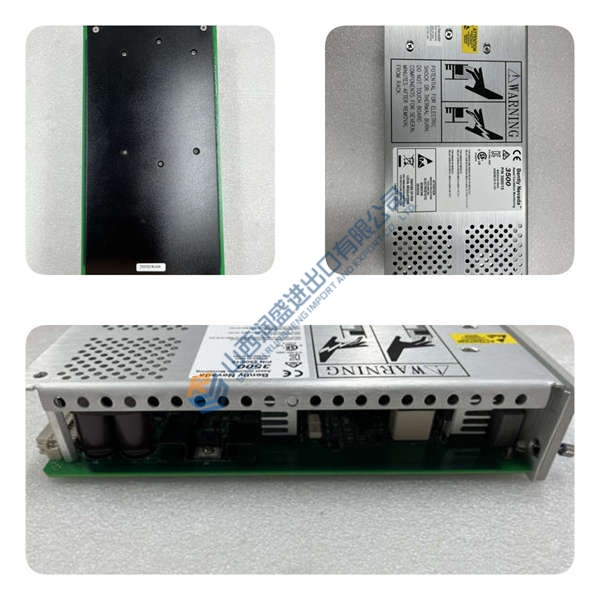
Installation & Configuration Guide
Phase 1—Pre-Installation (est. 10 min)
De-energize the engine monitoring system. Wait 5 minutes for capacitor discharge. Grab a CANopen multimeter, ESD wrist strap, and a camera. Export the current BWCM configuration from K-Chief 500. Photograph the existing sensor mounting bracket, cable routing, and gap setting—photo, photo, photo.
Phase 2—Removal (est. 5 min)
Label every CANopen cable before disconnecting. Remove the sensor from its bracket (M22 × 1 thread). Inspect the bracket for corrosion or deformation. Clean the mounting surface—no oil, no rust.
Phase 3—Installation (est. 10 min)
Strap on your ESD gear. Verify the part number matches PS-11. Apply anti-seize compound to the M22 thread. Screw the sensor into the bracket, torque to ~5 N·m. Set the gap to 3 ±1 mm using feeler gauges or the manufacturer’s gap tool. Reconnect CANopen cables, ensuring the bus termination resistor is at each end only. Run a pre-power checklist: supply voltage 18–32 V DC, ground continuity, no loose strands.
Phase 4—Power-On & Testing (est. 15 min)
Apply 24 V DC ±10%. Open K-Chief 500 BWCM screen. Verify the sensor appears on the CANopen bus (node ID matches configuration). Run the engine at low speed (≈20% load). Observe the BW readings for each cylinder—values should be stable, within ±0.10 mm of the reference. Increase load to 50%, confirm no alarm triggers. Confirm stable operation for at least 30 minutes. Log the swap in your maintenance record.