Description
Product Introduction
High-speed dynamic automation lines often suffer positioning errors, overheating, or motor feedback loss when driving heavy acceleration profiles with undersized or worn drive hardware. The Lenze MCS12H35-RS0B0-A19N-ST5S00N-R0SU synchronous servo motor resolves these performance bottlenecks by delivering high acceleration capabilities, robust thermal endurance, and precise closed-loop speed control.
Designed for integration with Lenze i700 and i950 cabinet servo drives as well as g500/g7x0 gearboxes, this MCS series motor features optimized winding magnetics and high power density in a compact frame. In my experience, replacing an aging or erratic servo motor with this unit stops nuisance drive over-current trips and restores smooth, high-precision motion trajectories across packaging, robotics, and CNC machine axes.
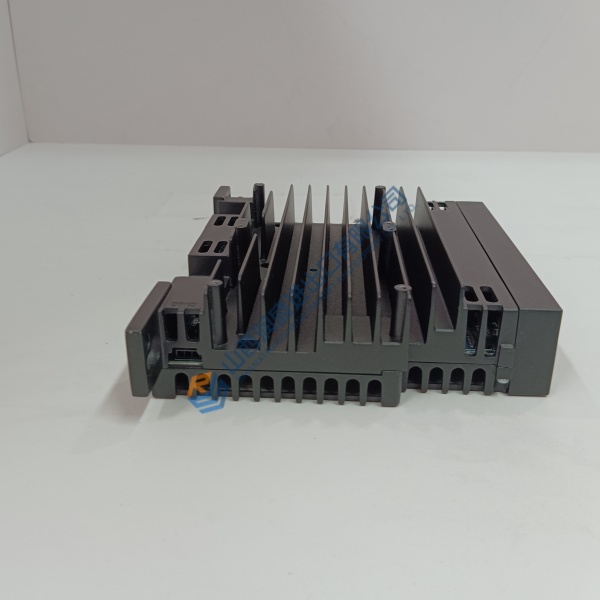
Installation & Configuration Guide
Phase 1 — Pre-Installation (est. 10 min): Isolate high-voltage power feeds to the servo inverter cabinet and follow safety lockout procedures. Wait at least 10 minutes for DC-bus drive capacitors to fully discharge. Gather a shaft dial indicator, flexible coupling alignment tools, a torque wrench, and a digital multimeter. Photograph existing power/feedback plug wiring, motor mounting orientation, and grounding connections before removing the old motor.
Phase 2 — Removal (est. 5 min): Disconnect the speed feedback and main motor power plug connectors by twisting the speed-lock retaining collars. Loosen the motor flange mounting bolts, carefully disengage the motor shaft from the driven machine coupling or gearhead input, and lift the motor off its mounting face. Inspect the machine mounting face and shaft coupling for burrs or debris.
Phase 3 — Installation (est. 10 min): Wear an anti-static wrist strap before handling connectors. Verify the model label reads MCS12H35-RS0B0-A19N-ST5S00N-R0SU. Align the motor shaft (19×40 mm) into the flexible coupling or gearbox input sleeve, ensuring zero radial or axial bind. Torque the flange mounting bolts evenly to manufacturer specifications (~20–25 N·m depending on bolt grade) and tighten the coupling clamping element. Connect power and resolver feedback plugs tightly.
Phase 4 — Power-On & Testing (est. 15 min): Power up the Lenze servo inverter and verify communication with the resolver feedback. In Lenze FAST / EASY Starter software, confirm the motor electronic nameplate data or load the standard MCS12H35 motor parameter set. Execute an initial low-speed jog test to confirm correct rotational direction, then run a 30-minute full dynamic operational profile while monitoring motor temperature, feedback alignment, and current draw.
Troubleshooting Quick-Reference:
- Resolver Fault on Inverter → Inspect resolver connector pins for corrosion or bent terminals; check feedback cable shielding ground.
- Excessive Shaft Vibration / Noise → Re-check mechanical shaft coupling runout (< 0.03 mm alignment) and verify rigid mounting bolt torques.
- Motor Over-Temperature Warning → Confirm clean cooling fins and ensure ambient ventilation around the motor frame meets operating standards.