
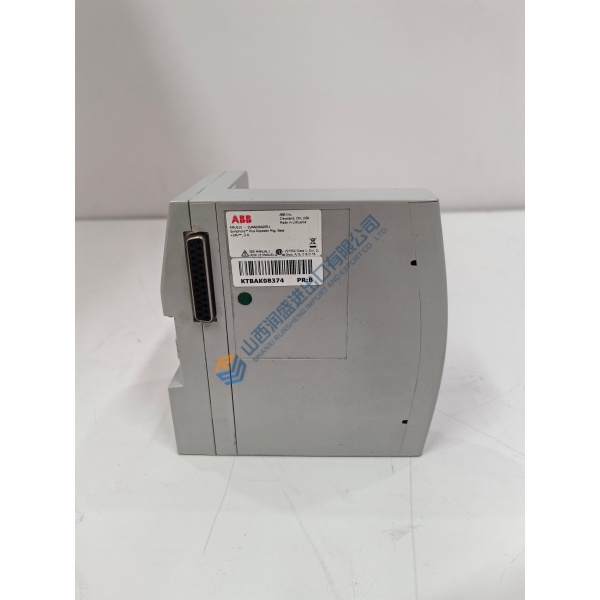
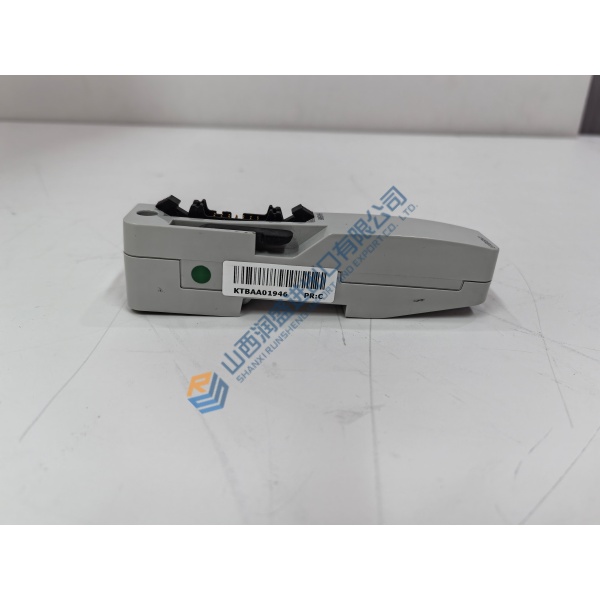
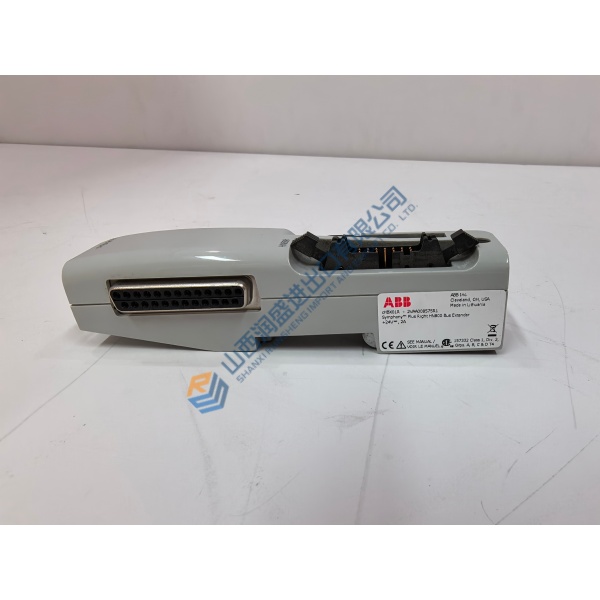
Description
Product Introduction
A signal conditioner failure in a turbine or compressor vibration rack can blind your DCS to mechanical wear and increase the risk of catastrophic bearing damage. The SHINKAWA VM-5Z3 provides real-time signal processing, peak displacement tracking, and continuous protection across critical rotating machinery installations. Built to API 670 standards for machinery protection systems, it slides directly into VM-5 series Eurocard rack slots without requiring panel alterations or field re-wiring.
In field deployments across power generation, petrochemical processing, and heavy manufacturing facilities, this unit delivers low-drift signal conditioning and sub-10 ms alarm response times. The SHINKAWA VM-5Z3 links directly to plant historian systems and machinery diagnostic software to keep rotating equipment running safely. Listed prices serve as a baseline market reference; actual costs depend on global surplus availability and current lead times. Contact our procurement team directly to request an exact quote.
Installation & Configuration Guide
Phase 1 — Pre-Installation (est. 10 min)
Bypass automated machinery trip logic on the master safety system before touching the rack to prevent accidental unit shutdown. De-energize the target VM-5 rack power supply rail. Gather a flathead precision screwdriver, ESD grounding wrist strap, signal generator, and digital multimeter. Record existing alarm thresholds, scale ranges, and transducer sensitivity settings from calibration sheets. Take clear photos of terminal block wiring and card position on the active SHINKAWA VM-5Z3 module.
Phase 2 — Removal (est. 5 min)
Label all raw signal coaxial lines, 4–20 mA loop wires, and relay output cables with port tags. Loosen the top and bottom captive thumbscrews on the module front panel. Disengage the card ejector handles by pulling them outward in tandem. Carefully pull the module straight out along the chassis card guides. Inspect the rear backplane connectors for dust, bent pins, or signs of overheating.
Phase 3 — Installation (est. 10 min)
Put on your ESD wrist strap and connect its grounding clip to the rack frame. Remove the replacement SHINKAWA VM-5Z3 from its anti-static shielding bag. Verify DIP switch settings and jumper configurations (transducer type, full-scale range, filter settings) against your original card calibration sheet. Align the board edges with the chassis guide slots and push the module inward until the ejector levers contact the frame. Press levers flush to lock the module into the backplane connectors, then tighten captive panel screws to ~0.5 N·m. Reconnect terminal wiring.
Phase 4 — Power-On & Testing (est. 15 min)
Verify backplane DC power voltages before energizing the main rack breaker. Turn on power. Observe the LED boot sequence: Power LED turns steady green, Sensor OK LEDs illuminate green, and ALARM/TRIP indicators remain off during normal operation. Connect a calibrated signal generator to the sensor input terminals to simulate target gap voltages and vibration frequencies. Verify that 4–20 mA outputs match expected values and test relay trip points. Remove the trip bypass before returning the unit to service. Log the replacement details in your maintenance record.
Quick Troubleshooting Reference
- SENSOR OK LED Off / Flashing: Open or short circuit in proximity probe wiring, extension cable fault, or driver unit power loss; check gap voltage with a multimeter.
- 4–20 mA Output Inaccurate: Incorrect full-scale range jumper settings or mismatched probe sensitivity calibration (e.g., 8 mV/µm vs 4 mV/µm); verify dip switches.
- False Alarm / Trip Relay Trigger: High-frequency electrical noise on transducer cable shielding; ensure single-point cable shield grounding at the rack end.



