Description
Product Introduction
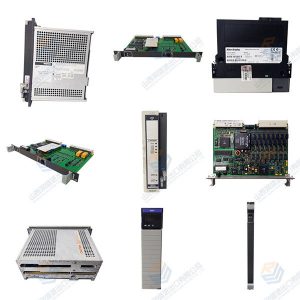
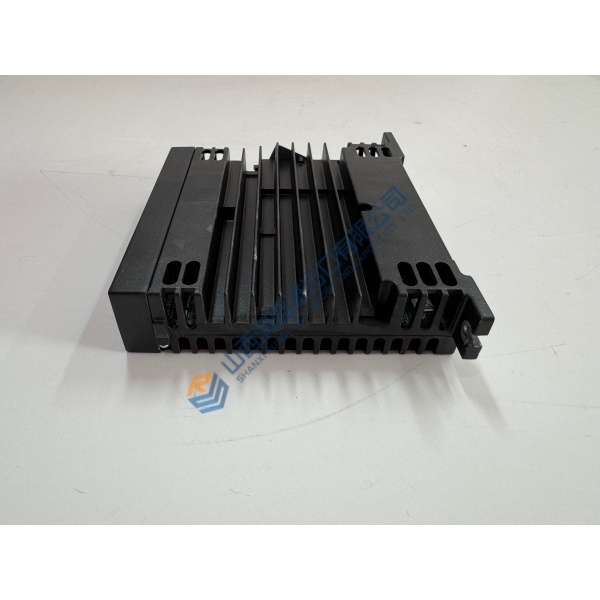
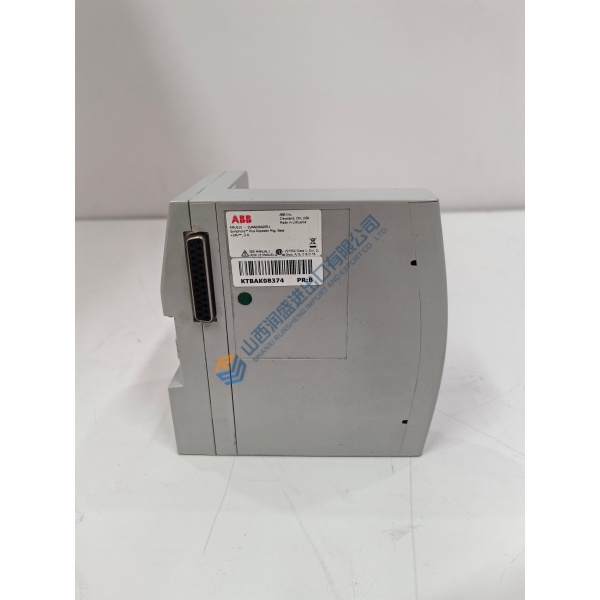
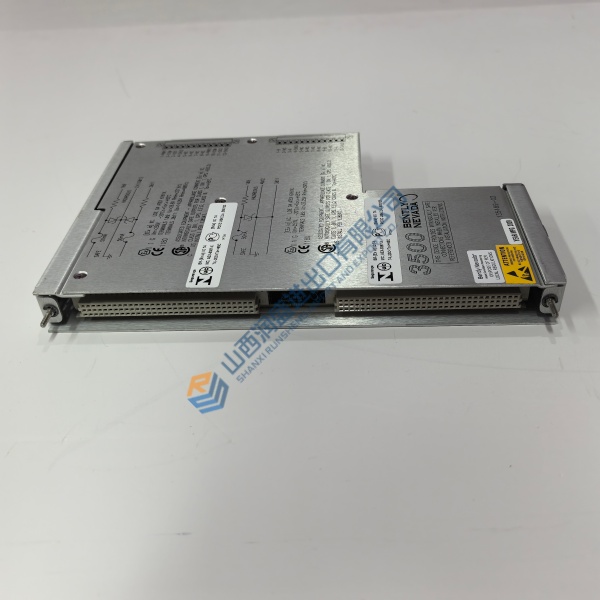
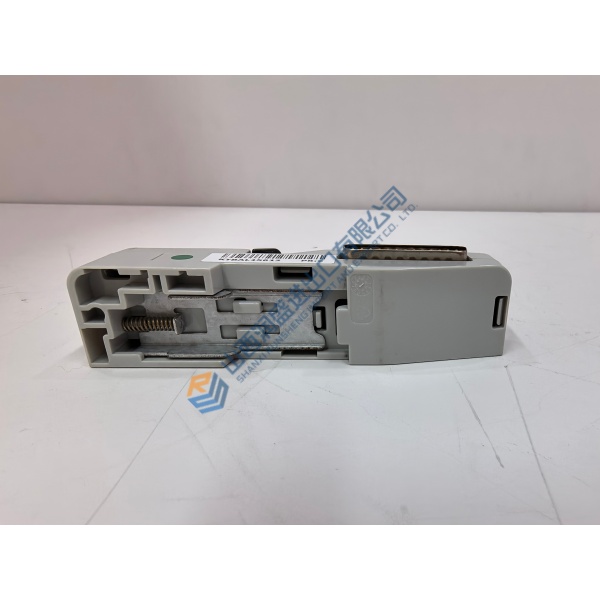
The TRICONEX 3351S2 is a 32-channel analog input module for Tricon safety instrumented systems. It converts field signals from pressure, temperature, level, and flow transmitters into validated digital data for emergency shutdown and fire & gas logic.
Each channel runs through three independent A/D conversion lanes with 2-out-of-3 voting. One failed lane doesn’t degrade measurement — the system masks it silently. Full 32-channel scan completes in under 1 ms. That speed matters when your interlock window is measured in milliseconds.
Installation & Configuration Guide
Phase 1 — Pre-Installation (est. 15 min)
De-energize the Tricon chassis per site procedure. ❗ Verify zero voltage at the backplane with a Fluke 115 before touching anything. Photograph the existing module’s slot position and terminal wiring. Record the firmware version from TriStation. Export the configuration database — scaling and logic reside in the main processors, not the module.
Phase 2 — Removal (est. 5 min)
Label every field wiring termination by channel number. Release the module’s retaining screws and pull straight out along the guide rails. Inspect the backplane connector for bent pins or corrosion. Note the baseplate model — 3351S2 requires a compatible terminal baseplate.
Phase 3 — Installation (est. 10 min)
ESD wrist strap on, grounded to chassis. Verify the replacement is 3351S2 / AI3351S2. Align the module with the guide rails and press until the backplane connector seats fully. Secure the retaining screws. Reconnect field wiring per your photos. ❗ Do not reverse polarity on 4–20 mA loops — the module’s diagnostic will flag it, but damage risk exists.
Phase 4 — Power-On & Testing (est. 15 min)
Restore power. Observe the module’s front-panel LEDs: PASS, FAULT, ACTIVE, FIELD PWR. Open TriStation 1131 and verify the module reports healthy. Force a diagnostic cycle through the software. Inject a known current on one channel and verify the reading matches. Confirm all 32 channels report valid data before returning to service.
Troubleshooting Quick-Reference:
- FAULT LED illuminated → check for open wire or short on field loop; TriStation diagnostic identifies the specific channel
- No communication → verify backplane seating and chassis slot addressing
- Intermittent channel readings → check terminal screw torque; vibration loosens connections over time
- ❗ Scaling mismatch after replacement → application logic lives in the main processors. A new module doesn’t need rescaling. If readings are wrong, check the transmitter loop, not the module.