Description
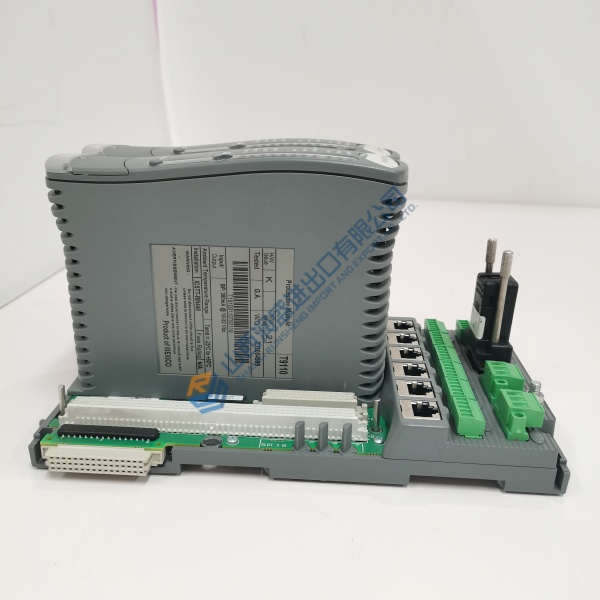
Product Introduction Integrating the Kollmorgen S6M4H servo drive into an automated motion axis delivers high-speed current loop processing for precise robotic positioning. Built for heavy-duty manufacturing environments, this drive regulates power delivery to synchronous servo motors without current ripple or position drift.
Automation engineers regularly specify this Servostar unit to replace failed drives during factory overhauls. It executes current loop updates under 62.5 µs, operating continuously within ambient cabinet temperatures from 0 °C to +45 °C.
Installation & Configuration Guide Phase 1 — Pre-Installation (est. 10 min) De-energize main supply power and 24 V DC control power. Wait 5 minutes for internal DC bus capacitors to discharge down to safe levels before touching terminals. Prepare a Fluke 115 digital multimeter, insulated screwdrivers, torque wrench, and ESD wrist strap. Save drive parameters using MotionLink software, then photograph motor feedback cable connections, fieldbus wiring, and internal DIP switch settings.
Phase 2 — Removal (est. 5 min) Label motor power leads, feedback connectors, and fieldbus cables before unplugging. Check DC bus terminals with your multimeter to confirm zero residual voltage. Undo top and bottom mounting screws on the drive enclosure. Lift the unit straight off the cabinet backplate, taking care not to scratch adjacent cooling channels. Inspect mounting surface for dust or grease buildup.
Phase 3 — Installation (est. 10 min) Strap on your ESD wrist band before unboxing the replacement drive. Verify the drive nameplate reads Kollmorgen S6M4H. Mount the drive vertically onto the enclosure backplate using M5 hardware, torquing mounting bolts to 3.0 N·m. Reconnect motor output phases, resolver feedback plug, and control wiring per your reference photos. Tighten power terminal screws to ~0.6 N·m.
Phase 4 — Power-On & Testing (est. 15 min) Verify incoming 3-phase line voltage matches rated 230–480 V AC levels. Apply 24 V DC auxiliary control power. Observe the front panel LED screen: the status display must show “o” (output disabled) without fault codes (e.g., F04 or F05). Connect your PC via serial interface, download the saved drive parameters using MotionLink, enable the output stage, and execute a low-speed jog test. Monitor operating stability for 30 minutes before signing off maintenance logs.
Troubleshooting Quick-Reference
- F04 error (Bus undervoltage) → check main AC line contactor, line fuses, and input voltage supply
- F05 error (Overfrequency / Speed fault) → check resolver feedback cable shielding and motor wiring sequence
- No display → verify 24 V DC auxiliary logic supply terminals and internal power supply fuse
Technical Pitfall Guide Precision servo control leaves zero room for error; simple installation oversights cause instant trip faults or motor runaway.