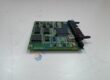
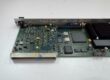
Product Core Brief
- Model: C60G01HCHF8FH6PM8FPXXUXXWXX
- Brand: GE / Emerson Automation
- Series: PACSystems RX3i / C600 Series
- Core Function: Processes high-speed logic and controls distributed I/O across industrial networks.
- Type: Programmable Automation Controller (PAC) CPU
- Key Specs: High-speed processing, multi-protocol communication, backplane bus interface
- Condition: New Original (New Surplus) — not refurbished
Product Introduction Facing unplanned downtime from failing main control hardware? Integrating the GE C60G01HCHF8FH6PM8FPXXUXXWXX controller module restores reliable real-time logic execution across heavy industrial automation racks.
This controller executes complex control loops with high clock precision, maintaining steady system throughput. Operating this unit inside critical power generation or process plants drops system scan times to sub-millisecond levels.
Key Technical Specifications
- Manufacturer: GE Automation / Emerson
- Part Number: C60G01HCHF8FH6PM8FPXXUXXWXX
- Product Line: PACSystems
- Module Type: Central Processing Unit (CPU) / Main Controller
- Operating Voltage: System backplane powered (24 V DC / 3.3 V DC logic supply)
- Communication Interfaces: Ethernet, Serial, System Bus
- Programming Environment: Proficy Machine Edition
- Mounting Style: Universal RX3i backplane slot
- Operating Ambient: 0 °C to +60 °C
- Storage Temperature: −40 °C to +85 °C
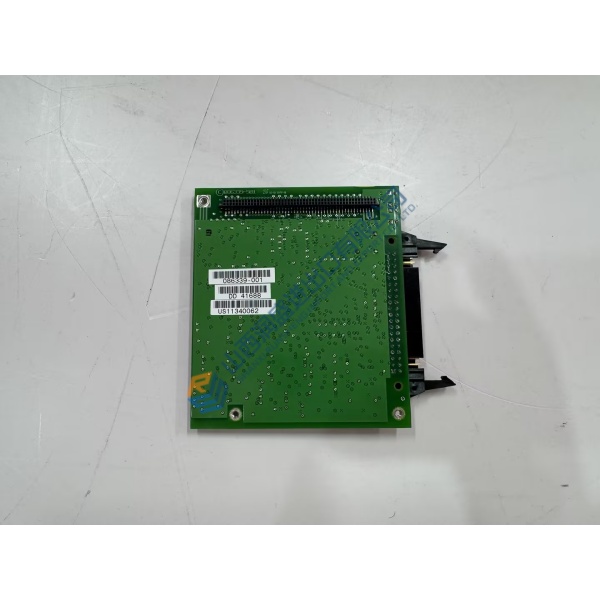
Installation & Configuration Guide
Phase 1 — Pre-Installation (est. 10 min) De-energize main supply breakers feeding the rack power supply. Wait 5 full minutes for power bus capacitors to discharge safely. Gather ESD wrist straps, flathead screwdrivers, and a Fluke 115 multimeter. Export existing project files from Proficy software. Photograph existing switch positions, module arrangements, and wiring layouts before touching any hardware.
Phase 2 — Removal (est. 5 min) Disconnect communication cables by squeezing side release tabs. Unscrew rack locking fasteners securing the module top and bottom. Pull the old unit perpendicular to backplane rails without applying lateral force, protecting internal connector pins from bending.
Phase 3 — Installation (est. 10 min) Put on your ESD wrist strap before handling the replacement module. Verify part tags ensure the GE C60G01HCHF8FH6PM8FPXXUXXWXX replaces your existing hardware matching full part code strings. Align top and bottom module guide ribs with backplane slots. Push firmly until the module seats into rear backplane connectors and locking latches click. Tighten hold-down screws to ~0.5 N·m.
Phase 4 — Power-On & Testing (est. 15 min) Apply main rack power and verify input voltage sits within 24 V DC ±10%. Observe LED indicators on power-up: OK LED lights solid green while RUN LED turns green during active scanning. Connect programming cable, open Proficy software, establish serial or Ethernet connection, download hardware configuration, and trigger functional test cycles across connected I/O drops. Keep system running for 30 minutes continuous while tracking diagnostic logs, then record the replacement in maintenance files.